A Sweet Beginning in My Kitchen
I still remember the first time I tried making my own white chocolate bar. It was a quiet Sunday, the kids were napping, and I had a little window of peaceful kitchen time. I was craving something creamy and sweet—but didn’t want another overly processed store-bought bar.
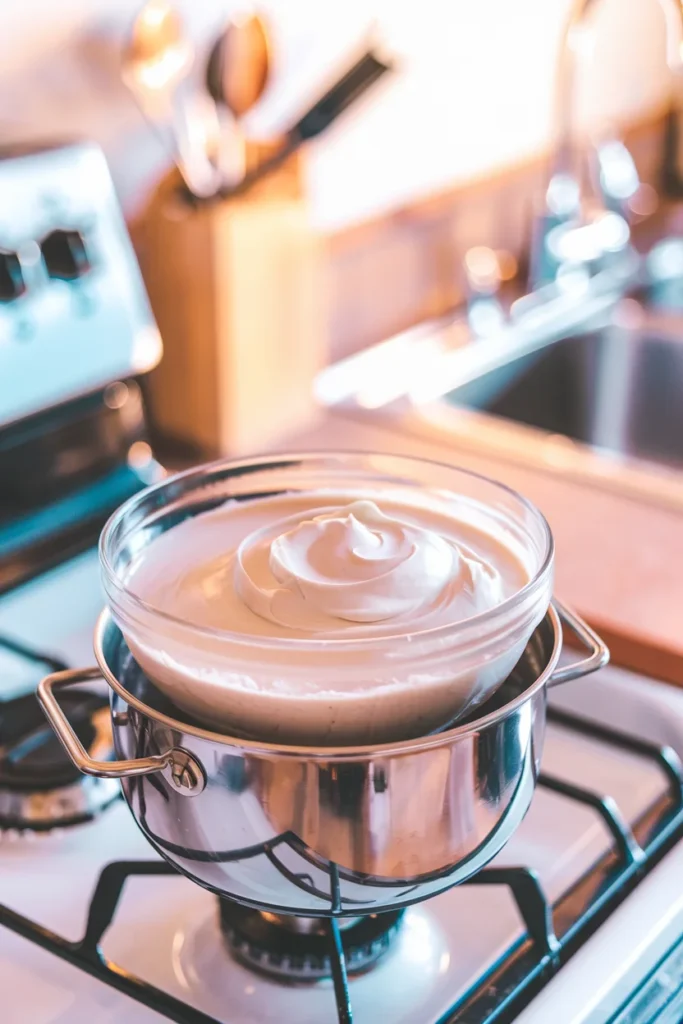
That day, with just a few ingredients and a little curiosity, I melted down my first batch of white chocolate in a simple double boiler. It wasn’t perfect, but the flavor? It was richer and smoother than I expected. Homemade white chocolate is something else—it doesn’t just taste better, it feels more personal.
And that’s what this post is all about. If you’ve ever wanted to create a creamy, dreamy white chocolate bar from scratch using simple, wholesome ingredients—you’re in the right place. No additives, no complicated techniques—just real chocolate made at home.
So let’s gather our tools and get started!
What You’ll Need to Make a White Chocolate Bar
Simple Kitchen Tools for Sweet Success
One of the best parts about making a homemade white chocolate bar is how little equipment it actually requires. No fancy machines, just a few basic tools that you probably already have in your kitchen:
- Double boiler or heat-safe bowl over a pot – This helps melt the cacao butter gently without burning it.
- Silicone spatula – Perfect for stirring and scraping every bit of chocolate from the bowl.
- Kitchen scale – Measuring by weight ensures your chocolate sets just right.
- Silicone chocolate molds or a small baking dish lined with parchment paper – For shaping your bars into beautiful, giftable pieces.
Tip from my kitchen: If you don’t have chocolate molds, don’t worry! Just pour the mixture into a parchment-lined dish and slice it into bars once firm.
Fun Add-Ins for Extra Flavor and Flair
You can keep it classic, or get creative with ingredients you already have at home. These little extras are optional—but so much fun!
- Crushed pistachios or freeze-dried raspberries – Add crunch and color.
- A drop of vanilla or almond essence – For warm, aromatic undertones.
- Citrus zest – Brightens the flavor with just a pinch.
- Edible flowers or natural food colorings – Perfect for special occasions or gifting.
Whether you’re making bars for yourself, a friend, or a seasonal treat, these add-ins help turn your homemade white chocolate into something truly special, just like our chocolate glazed donuts, which pair perfectly with this creamy dessert.
White Chocolate Bar Ingredients
Simple, Quality Ingredients Make All the Difference

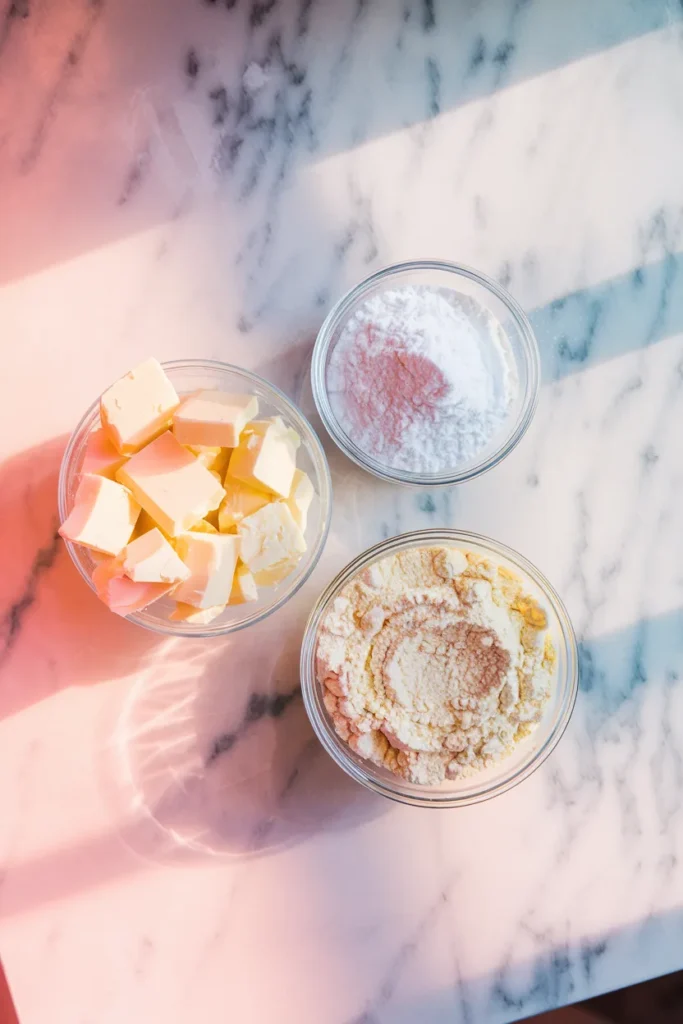
To make a creamy and smooth homemade white chocolate bar, you only need three core ingredients. Each one plays an important role in creating the flavor and texture we all love:
- Cacao Butter – 1.4 oz
This is the rich, melt-in-your-mouth fat pressed from cacao beans. It’s what gives white chocolate its smooth and creamy base. For best results, use food-grade, unrefined cacao butter. - Milk Powder – 1.4 oz
Adds the classic milky flavor and smooth finish. You can use dairy milk powder, or go with coconut or soy milk powder for a vegan version. Whichever you choose, make sure it’s finely ground. - Powdered Sugar – 0.7 oz
This sweetens the chocolate without making it gritty. Powdered sugar dissolves easily and gives that silky texture. You can also use sugar-free alternatives like monk fruit or maple powder if you prefer a lower-sugar option.
Kitchen Note: Always sift your powdered ingredients before mixing them in. It keeps the chocolate smooth and lump-free—just like the kind you’d find in a fancy chocolatier’s shop.
How to Make a Homemade White Chocolate Bar
Step-by-Step Instructions
1. Melt the Cacao Butter
Chop into small pieces and melt gently using a double boiler or heat-safe bowl over simmering water. Stir often and keep the heat low to avoid burning.

2. Mix in Milk Powder and Sugar
Sift in the milk powder and powdered sugar gradually, stirring continuously until the mixture is smooth and lump-free.
3. Pour and Set
Pour into silicone molds or a parchment-lined dish. Tap to remove air bubbles. Let sit at room temp for 10–15 minutes, then chill in the fridge for 1–2 hours until firm.
4. Enjoy or Store
Pop out of the molds and enjoy! Store in an airtight container in a cool, dry place, or freeze for longer shelf life.
Tips and Hacks for the Perfect White Chocolate Bar
Little Lessons from My Own Chocolate Trials
- Sift everything: Always sift the powdered sugar and milk powder before adding them—this helps prevent lumps and gives your white chocolate a smoother, silkier texture.
- Use good cacao butter: The better the quality, the creamier your chocolate will be. Look for food-grade, unrefined cacao butter with a rich aroma.
- Add a pinch of salt: Just a tiny bit of sea salt can bring out the delicate vanilla-like notes in white chocolate.
Easy Variations to Try
- For texture: Stir in chopped almonds, crushed pistachios, or puffed rice before pouring into molds.
- For color or flavor: Swirl in matcha, rose petals, or a touch of vanilla or almond essence. If you’re a fan of matcha-based sweets, check out this simple matcha chocolate recipe for another green-hued twist.
- For fun: Use silicone molds in fun shapes—great for parties, gifts, or kids’ treats!
Storage Hacks
- Keep bars separated with parchment paper to avoid sticking.
- Store in a cool, dry place, away from sunlight to prevent melting or “fat bloom.”
- For longer storage, wrap and freeze—they’ll stay fresh for up to 2 months!
White Chocolate Bar Nutrition (Per 1 oz Piece)
Here’s What You Can Expect Per Serving:
- Calories: Approximately 160 kcal
- Total Fat: Around 12g (from cacao butter, no trans fats)
- Sugar: Roughly 9g (can be reduced or substituted)
- Carbohydrates: About 10g
- Protein: 1g (from milk or soy powder)
These values are approximate and may vary depending on the specific ingredients used—but the beauty of a homemade white chocolate bar is that you control exactly what goes into it.

FAQs About White Chocolate Bars
What are the FDA rules for white chocolate?
The FDA requires that white chocolate contain a minimum of 20% cacao fat, 14% milk solids, and 3.5% milk fat. Additionally, it must not exceed 55% sugar or other sweeteners. These guidelines help maintain the smooth, creamy texture and rich taste associated with authentic white chocolate.
What are some fun facts about white chocolate?
- White chocolate was first made by Nestlé back in the 1930s.
- It melts quicker than dark or milk chocolate because it has more cacao butter—great for drizzling or making sweet sauces.
- It doesn’t have the dark part of the cocoa bean, so it’s not technically “chocolate,” but it still comes from the same cacao plant.
What is the shelf life of white chocolate?
When stored in a cool, dry place, a homemade white chocolate bar can last 4 to 6 months. If kept in the refrigerator or freezer (well wrapped), it can stay fresh even longer. Just be sure to protect it from moisture and strong odors.
What makes chocolate bars turn white?
That white coating you sometimes see is called “chocolate bloom.” It’s caused by either fat or sugar rising to the surface due to temperature changes. While it might look chalky, it’s harmless and doesn’t affect the safety of the chocolate—especially since cocoa butter itself provides health-supporting fats even when bloomed.
Conclusion: A Homemade White Chocolate Bar Worth Sharing
Making your own white chocolate bar isn’t just a fun kitchen project—it’s a way to enjoy something sweet, creamy, and completely personal. With only a few simple ingredients, you get to control the flavor, the texture, and the quality—something store-bought chocolate just can’t match.
Whether you’re making these for a thoughtful gift, a family treat, or a quiet indulgence after a long day, the joy is in both the making and the sharing. And once you taste that smooth, melt-in-your-mouth bite, you’ll wonder why you didn’t try it sooner.
From my kitchen to yours—happy chocolate-making!

