Introduction
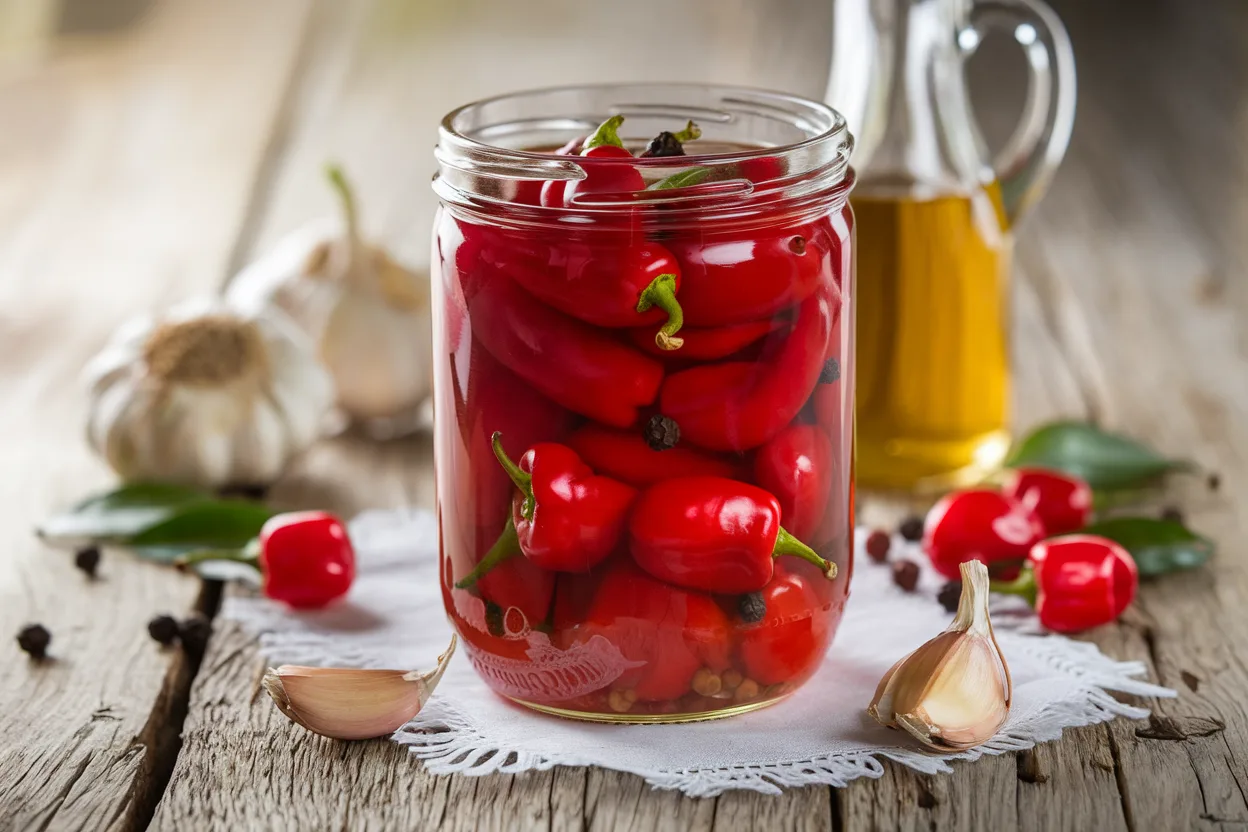
There’s something truly special about homemade pickles. The moment I open a jar of pickled cherry peppers, I’m transported back to my grandmother’s cozy kitchen, where the air was filled with the tangy aroma of vinegar and spices. She always had a jar on the table, and I remember how those vibrant red peppers added a perfect balance of heat and acidity to our meals.
Now, as a home cook, I love recreating that experience. Pickled cherry peppers are one of my favorite condiments, offering a delightful kick that pairs well with sandwiches, salads, and even cheese boards. Their crisp texture and bold flavor make them a must-have in my pantry. Plus, making them at home allows me to control the ingredients and customize the taste to suit my family’s preferences.
In this recipe, I’ll walk you through the simple steps to achieve perfectly pickled cherry peppers. Whether you like them slightly sweet, extra spicy, or packed with garlic, this method ensures that they stay fresh, flavorful, and full of character.
Why This Recipe Works
Perfect Balance of Heat and Sweetness
Pickled cherry peppers offer the ideal mix of tangy, sweet, and mildly spicy flavors. With a heat level of 2,500 to 5,000 Scoville units, they provide a gentle kick without overpowering your taste buds. The vinegar and a touch of sugar enhance their natural flavor, creating a well-balanced, versatile ingredient.
Easy to Customize
One of the best parts about this recipe is how easily you can adjust the flavors to your liking. Want it sweeter? Add extra sugar. Prefer more spice? Toss in red pepper flakes or sliced jalapeños. Garlic lovers can double the cloves for an extra punch. You can also experiment with herbs like bay leaves or mustard seeds to create a unique blend.
Long-Lasting & Flavorful
Pickling extends the shelf life of cherry peppers, keeping them fresh and flavorful for months in the refrigerator. Over time, the brine deepens their taste, making them even more delicious the longer they sit.
What You’ll Need
Essential Tools for Pickling
Before we get started, let’s make sure you have everything you need. Having the right tools will make this process easier and more enjoyable:
- Glass jars – You’ll want sterilized glass jars to keep your pickled cherry peppers fresh and flavorful. Trust me, it’s worth taking the time to clean them properly!
- Saucepan – This is essential for preparing the pickling brine, where all the magic happens.
- Knife & cutting board – A good knife will make prepping your peppers a breeze.
- Paring knife (optional) – If you prefer precision, a smaller knife will help when slicing the peppers.
- Gloves – If you’ve ever handled spicy peppers and accidentally touched your face, you know why gloves are a lifesaver. Protect your hands from lingering heat!
Fresh & Flavorful Ingredients
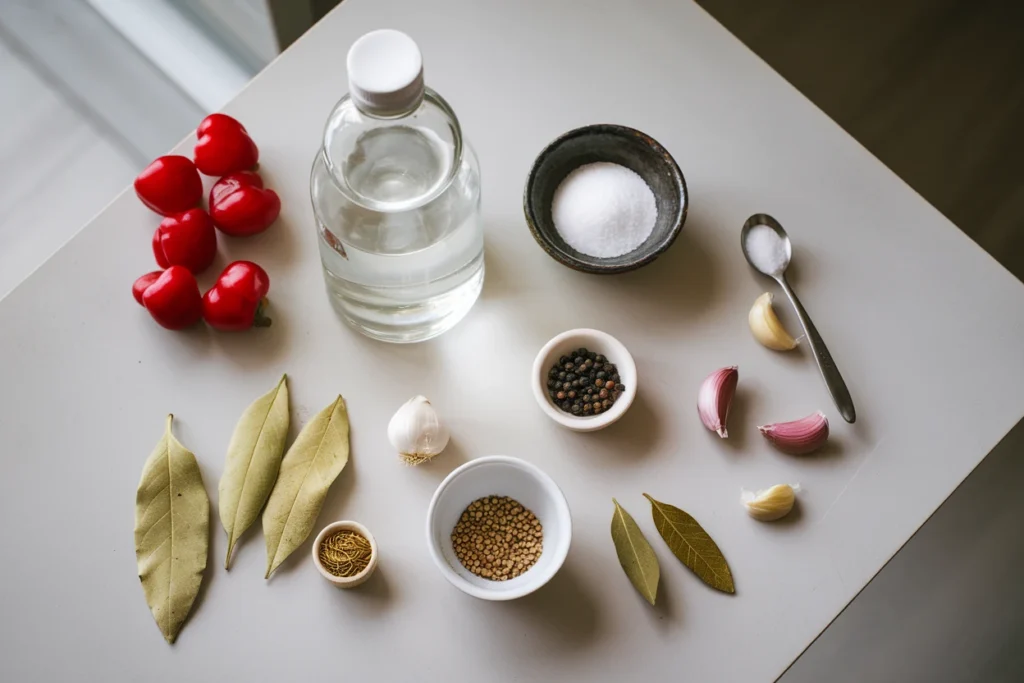
Now that your tools are ready, let’s talk about the ingredients. Each one plays a key role in bringing out the best flavors in your pickled cherry peppers:
- 2 lbs fresh cherry peppers – Look for firm, red, and ripe peppers. Their natural sweetness and mild heat make them perfect for pickling.
- 2 cups white vinegar – This gives the peppers their signature tang while keeping them fresh for months.
- 1 cup water – Helps balance the sharpness of the vinegar for a smoother flavor.
- 2 tbsp sugar – Just enough to add a slight sweetness and soften the acidity.
- 1 tbsp salt – Essential for enhancing flavor and preserving the peppers.
- 4 garlic cloves – Because, honestly, what’s a good pickle without garlic? It adds depth and richness.
- 1 tsp black peppercorns – These add a subtle warmth without overpowering the other flavors.
- 1 tsp mustard seeds – A tiny ingredient with a big impact! Mustard seeds bring an earthy, slightly tangy note.
- 2 bay leaves – Just a small touch, but they add a lovely herbal undertone.
With all your tools and ingredients ready, you’re just a few steps away from making the best homemade pickled cherry peppers! Are you excited?
Step-by-Step Instructions for Perfect Pickled Cherry Peppers
Step 1: Prepare the Peppers
First things first—let’s get those cherry peppers ready.Rinse the cherry peppers well under cold water to ensure they’re clean and free of any dirt or debris. If you prefer a crunchier texture, you can leave them whole. However, if you want the flavors to infuse faster, slicing them in half is a great option.
Pro Tip: If you decide to keep them whole, use a small knife to make a tiny slit in each pepper. This allows the brine to seep in without making them too soft.
Step 2: Make the Pickling Brine
Now comes the heart of the recipe—the flavorful pickling brine! In a medium saucepan, combine:
- 2 cups white vinegar
- 1 cup water
- 2 tbsp sugar
- 1 tbsp salt
- 4 garlic cloves (smashed or sliced)
- 1 tsp black peppercorns
- 1 tsp mustard seeds
- 2 bay leaves
Set the saucepan on medium heat and let the mixture slowly come to a boil. Stir from time to time to help the sugar and salt fully dissolve. Once it reaches a boil, lower the heat and let it simmer for about 2 minutes to allow the flavors to blend.
Step 3: Pack the Jars
While the brine is still hot, carefully pack your cleaned cherry peppers into sterilized glass jars. You want them snug but not crushed. Carefully ladle the hot brine over the peppers, making sure they are completely covered. If needed, use a spoon to press them down gently.
Helpful Hint: If you have any leftover brine, don’t throw it away! It’s great for pickling other vegetables like onions or cucumbers.
Step 4: Seal and Store
Once the jars are filled, close the lids tightly. Leave them to cool at room temperature before refrigerating. For the best flavor, allow them to sit for at least 24 hours before digging in. However, if you can wait, they taste even better after a week!
Storage Tip: Properly stored, pickled cherry peppers can last for up to 3 months in the fridge.
Tips and Hacks for the Best Pickled Cherry Peppers
How to Keep Your Peppers Crunchy
Nobody likes mushy pickles! If you want to maintain that satisfying crunch, here are a few tricks:
- Add a grape leaf – It might sound unusual, but grape leaves contain natural tannins that help preserve the peppers’ crispness. Simply place one at the bottom of each jar.
- Use a pinch of calcium chloride – This is a common ingredient in commercial pickling and works wonders in keeping vegetables firm.
- Avoid overcooking the peppers – Do not boil them in the brine. Pouring the hot brine over raw peppers ensures they stay crisp.
Fun Ways to Customize Your Pickled Peppers
One of the best things about pickling at home is that you can experiment with different flavors! Try these variations:
- Sweet Pickled Cherry Peppers – Increase the sugar to 4 tablespoons for a milder, slightly sweet contrast to the vinegar.
- Extra Spicy Version – Toss in some red pepper flakes or sliced jalapeños for a fiery kick.
- Garlic Lovers’ Delight – Double the garlic to intensify the bold, aromatic flavors.
- Warm & Spiced Twist – Add a cinnamon stick or a few whole cloves for a unique, slightly sweet depth of flavor.
Reusing the Leftover Brine
Don’t throw away that delicious brine once you’ve finished your pickled cherry peppers! Here are some clever ways to use it:
- Pickle other vegetables – Try using the leftover brine for cucumbers, onions, or even boiled eggs.
- Make a tangy salad dressing – Mix a few tablespoons of brine with olive oil for a zesty homemade vinaigrette.
- Use it in marinades – The acidity and spices in the brine make it perfect for marinating chicken or fish.
Nutritional Benefits of Pickled Cherry Peppers
A Low-Calorie, Flavor-Packed Snack
If you love bold flavors but also want to keep things healthy, pickled cherry peppers are a fantastic choice! They are naturally low in calories, making them a guilt-free addition to your meals. A typical serving of pickled cherry peppers (about 3-4 pieces) contains approximately:
- 15 calories – Perfect for snacking without worrying about extra calories.
- 3g of carbohydrates – Mostly from natural sugars and a small amount of added sugar in the brine.
- 250mg of sodium – Since they’re pickled, they do contain salt, so enjoy them in moderation if you’re watching your sodium intake.
Rich in Vitamin C and Antioxidants
Cherry peppers are packed with vitamin C, which supports a strong immune system and promotes healthy skin. According to Harvard’s Nutrition Source, peppers are also rich in antioxidants, which help fight inflammation and protect cells from damage. A single serving provides about 10% of your daily vitamin C needs, making these pickled peppers a nutritious addition to your diet.
If you’re looking for a flavorful way to boost your nutrient intake, these peppers are a delicious and health-friendly choice!
Serving & Storage: How to Enjoy Your Pickled Cherry Peppers
Best Ways to Serve Pickled Cherry Peppers
Pickled cherry peppers are incredibly versatile, adding a burst of flavor to many dishes. Here are some delicious ways to enjoy them:
- With sandwiches & burgers – Their tangy heat pairs perfectly with deli meats, grilled chicken, or veggie sandwiches.
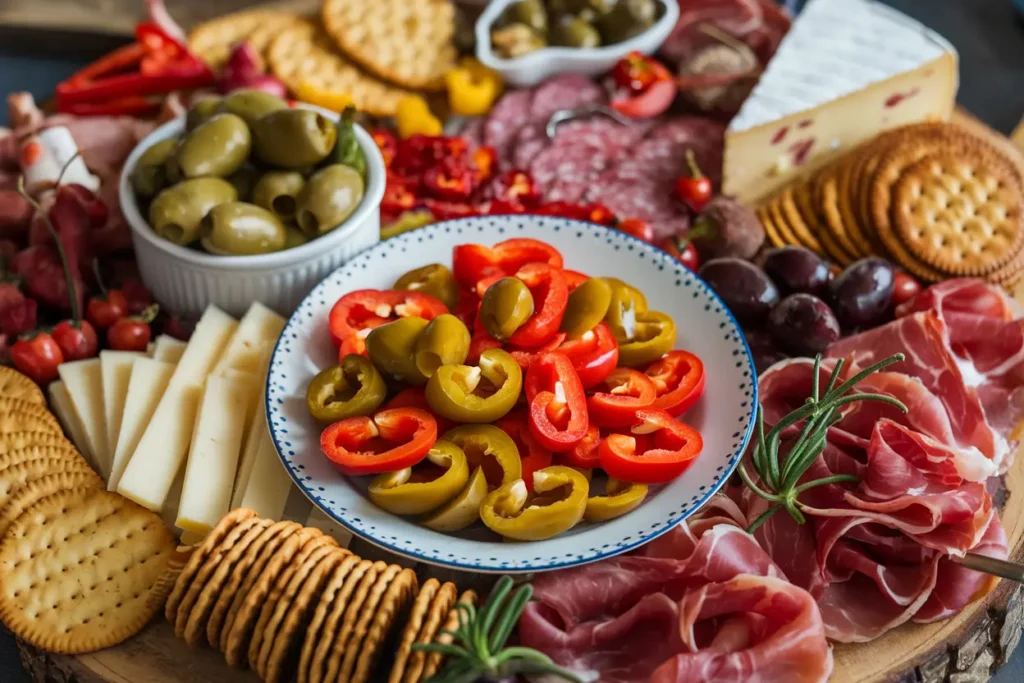
- On a charcuterie board – Serve them alongside cheeses, olives, and crackers for a flavorful appetizer.
- Chopped into salads – Add them to green salads, grain bowls, or even a Caesar pasta salad for a delicious tangy contrast.
- Stuffed with cheese – Fill them with cream cheese or feta for a delicious snack.
- Tossed into pasta – A few sliced pickled peppers can brighten up a simple pasta dish.
- As a pizza topping – Sprinkle them on top of your favorite homemade pizza for a spicy, tangy twist.
Proper Storage for Maximum Freshness
To keep your pickled cherry peppers fresh and flavorful, follow these simple storage tips:
- Refrigeration is key – Always store your pickled peppers in the refrigerator. They will stay fresh for up to 3 months when kept in an airtight jar.
- Use a clean utensil – When taking peppers from the jar, always use a clean fork or spoon to prevent contamination.
- Ensure peppers stay submerged – If some of the peppers are sticking out of the brine, press them down or add more liquid to prevent spoilage.
Tip: Over time, the flavors will deepen, making the peppers even more delicious! If you can wait a week before tasting, you’ll be rewarded with the best possible flavor.
Frequently Asked Questions
1. How spicy are pickled cherry peppers?
Pickled cherry peppers have a mild to medium heat level, typically ranging from 2,500 to 5,000 Scoville units. This makes them milder than cayenne peppers but slightly spicier than banana peppers. The pickling process slightly tames their heat, balancing it with tangy and sweet notes.
2. Are cherry peppers hotter than jalapeños?
Not usually! Jalapeños range from 2,500 to 8,000 Scoville units, so they can be hotter than cherry peppers. However, cherry peppers have a unique balance of mild heat and natural sweetness, making them a favorite for pickling.
3. Are pickled cherry peppers healthy?
Yes! Pickled cherry peppers are low in calories and contain a good amount of vitamin C and antioxidants. However, they do contain sodium due to the pickling process, so if you’re watching your salt intake, enjoy them in moderation.
4. What’s a good substitute for pickled cherry peppers?
If you can’t find cherry peppers, you can use pickled banana peppers or pepperoncini as alternatives. They have a similar tangy flavor, though they are slightly milder in heat.
5. How do you keep pickled peppers crisp?
To maintain their crunch, try one of these methods:
- Add a grape leaf to the jar—the natural tannins help preserve crispness.
- Use a pinch of calcium chloride (pickle crisp), which is commonly used in commercial pickling.
- Avoid boiling the peppers—just pour the hot brine over them instead.
6. Is there another name for cherry peppers?
Yes! Cherry peppers are sometimes called pimento peppers, especially when used in stuffed olives or cheese spreads.
Conclusion
Making your own pickled cherry peppers is a simple yet rewarding process that brings bold flavors to your kitchen. Whether you love them mild or extra spicy, this recipe allows for endless customization. With their perfect balance of heat, tang, and crunch, these peppers are the ultimate addition to sandwiches, salads, and charcuterie boards.
The best part? Homemade pickled cherry peppers stay fresh for months, so you can enjoy their delicious taste long after pickling day. Plus, by making them yourself, you control the ingredients—ensuring they’re free of preservatives and tailored to your preferences.
Now that you know how easy it is, why not give it a try? Once you taste your homemade batch, you’ll never want store-bought pickled peppers again!
👉 Have you tried this recipe? Let me know your favorite way to enjoy pickled cherry peppers in the comments!